Disclosure: As an Amazon Associate I earn from qualifying purchases. Some links in this post are affiliate links, meaning I may earn a small commission at no extra cost to you.
Growing up in Lima, seafood restaurants or cevicherías are on practically every corner. While Ceviche is the most beloved dish on every seafood menu, those restaurants offer an incredible variety of cooked seafood dishes as well. I used to see Seco de Mariscos on menus all over the city, and every single chef seemed to prepare it completely differently. I spent time tracking down the right ingredients and testing techniques to develop my own version in my kitchen.
If you love the flavors of a traditional Seco de Res but want something faster, this is the dish for you. While it might not have the heavy, slow-cooked depth of a beef stew that simmers for hours, it packs all of that signature bright flavor into a quick seafood dish.
To be completely honest, I am not the biggest fan of overpowering “fishy” flavors. That is why this specific recipe is so perfect. The bold base of caramelized aromatics, cilantro, and spinach, paired with a final splash of heavy cream, creates a delicious stew that completely complements the seafood. It is the ultimate seafood dish for people who usually avoid seafood.
What Is Seco de Mariscos?
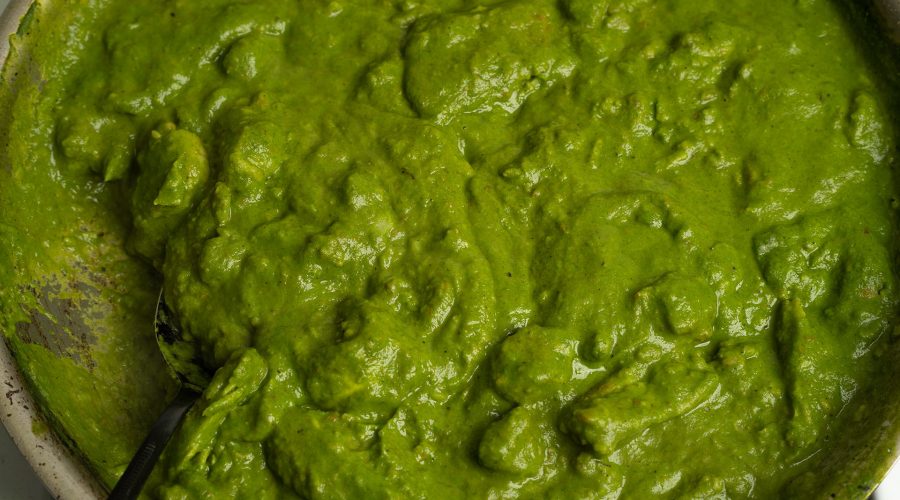
In Peruvian cuisine, a “Seco” is traditionally a hearty meat stew defined by its vibrant green sauce, which is made by blending massive amounts of fresh cilantro and spinach. While beef (Seco de Res) is the most common protein, this coastal variation swaps the heavy meat for a delicate mix of white fish and shellfish.
Instead of braising for hours, the seafood is lightly dusted in flour, quickly seared to build a crust, and then gently simmered in the green sauce with carrots, peas, and vegetable broth. The addition of heavy cream at the very end is a restaurant-style twist that elevates the dish, giving it a rich tasty finish with just a subtle kick of heat from the aji peppers.
Where to Find the Peruvian Ingredients in the US
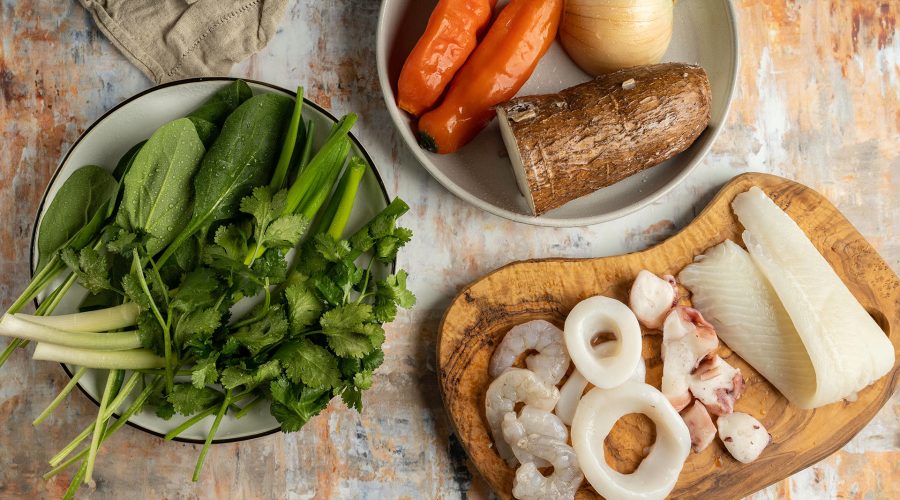
The key to making this dish work in the US is choosing the right seafood. You want a mild white fish that will not overpower the sauce; cod, mahi-mahi, or tilapia are your best options. For the seafood mix, try to get everything fresh ingredients, frozen does not taste the same.
You will also need Aji Amarillo and Aji Mirasol pastes for the flavor base. Aji Amarillo Paste and Aji Mirasol Paste on Amazon if you do not have a well-stocked Latin market nearby.
A creamy, vibrant Peruvian seafood stew made with a cilantro and spinach base, mild white fish, shrimp, and calamari, finished with a touch of heavy cream.
Course Main Course
Cuisine peruvian
Keyword cilantro seafood stew, Peruvian fish recipe, Peruvian seafood stew, Seco de Mariscos recipe
Prep Time 20 minutesminutes
Cook Time 25 minutesminutes
Total Time 45 minutesminutes
Servings 4people
Author Brandon Castillo
Equipment
Pot
Ingredients
Vegetable Oil
2tbps Butter
4pieces Fish
500grSeafood
1cupFlour
1cupscallionschopped
500grRed Oniondiced
3Garlic Clovesminced
2cupsSpinach
1.5cupsCilantro leaves
1tbps Ají Amarillo paste
1tbps Ají Mirasol paste
1cupCarrots diced
1cupPeas
2cupsVegetable Broth
1/2cupWhipped Creamoptional
1teaspoon Cumin
1tablespoonSugar
4portions Yuccacooked
Salt & Pepper
Instructions
Salt & Pepper seafood and fish
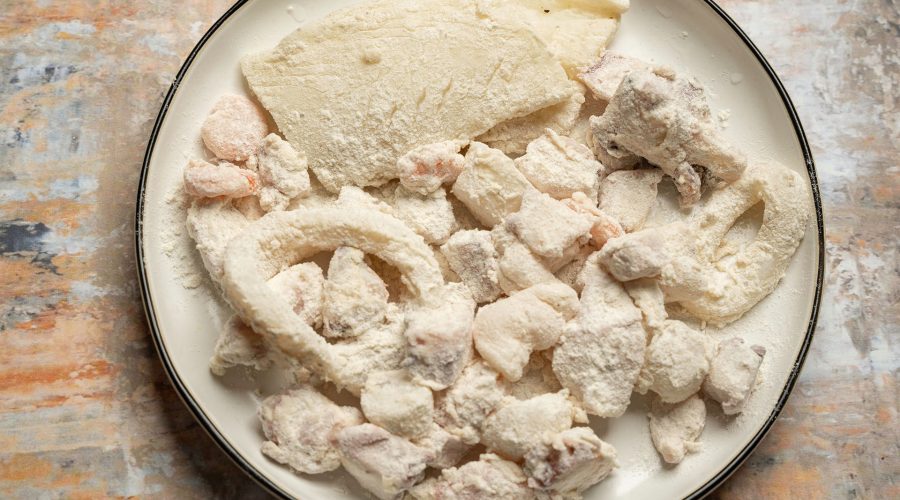
In a bowl add a teaspoon of salt and the flour, then add the seafood and fish, make sure they are covered with the flour and remove the excess.
In a hot pot add 3 tablespoons of vegetable oil, sear your "meats" 3 minutes per side, then set aside.
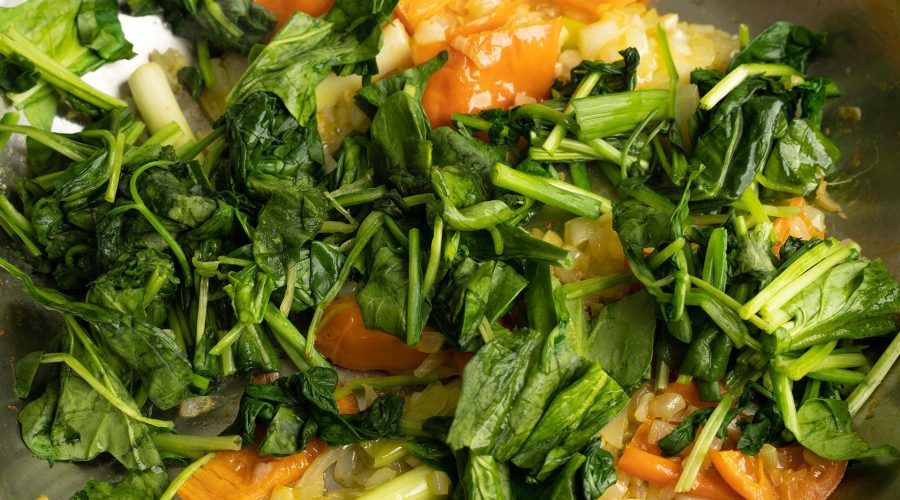
In the same pot add the onions,scallions, garlic, Ají Amarillo paste, Mirasol, let it cook for at least 10 minutes or until caramelized. Once it's cooked, use a blender or food processor and process with spinach and cilantro leaves.
Add your mixture to the pot, add the seafood/fish again, add broth, a tablespoon of sugar, a little salt, pepper, cumin, butter, then add carrots and peas and cook for 10 min.
Finish with milk cream and cook for 2 to 5 minutes, add more broth if necessary.
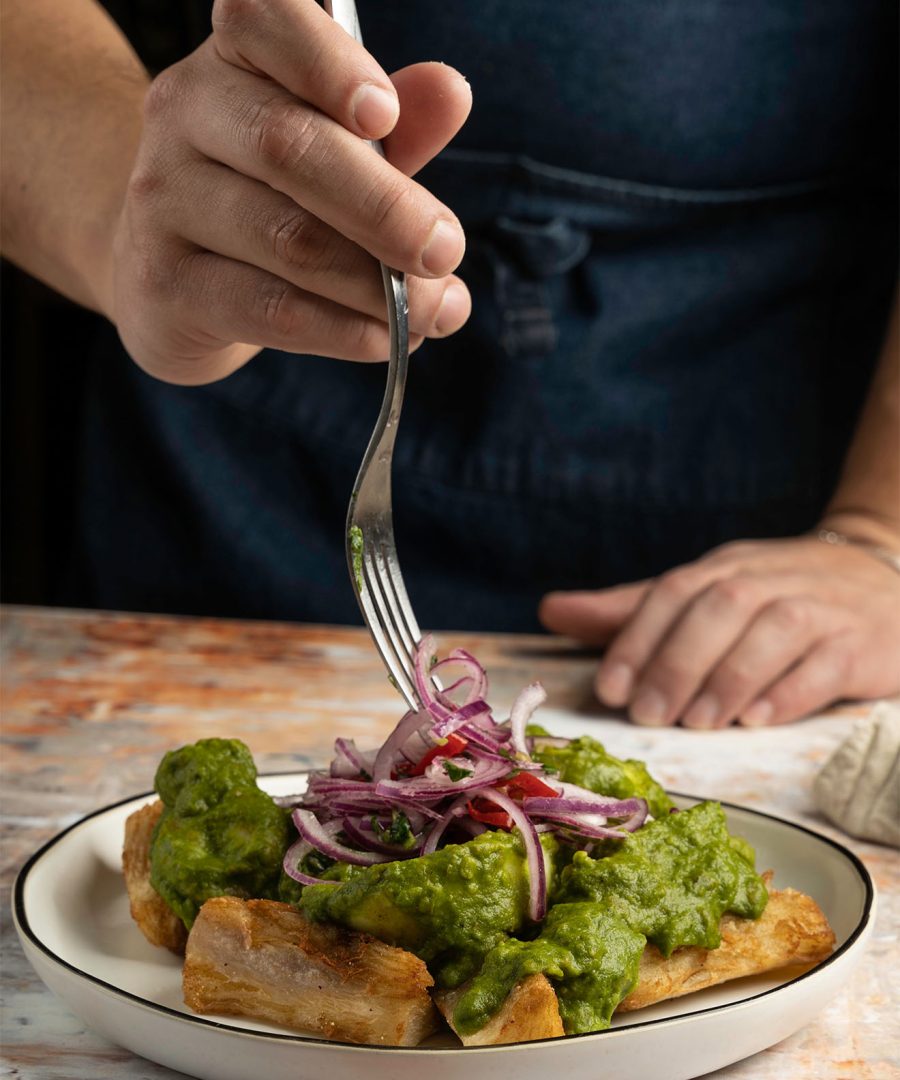
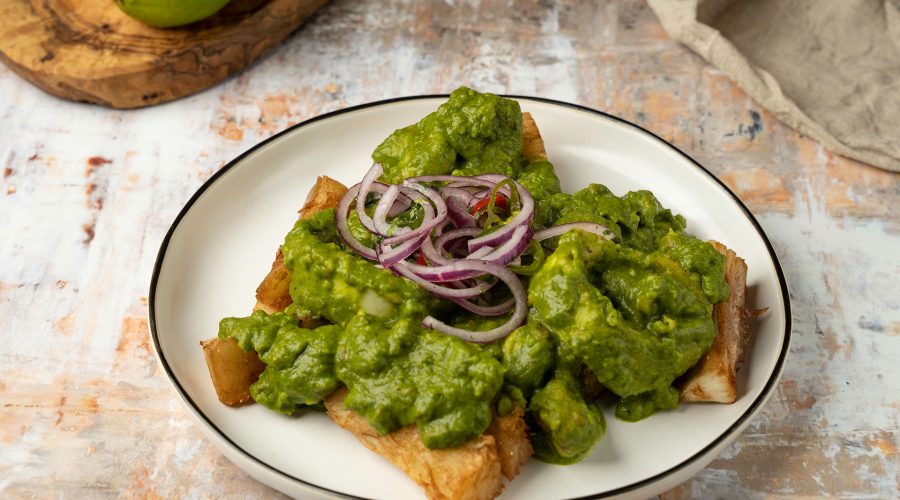
Serve with Yucca and Sarsa Criolla
Notes
If you are using frozen fish/seafood, let them thaw and drain excess water, pat dry with a paper towel, then season.
Serve with Sarza Criolla
You can pass the cilantro and spinach leaves through boiled water to obtain more intense green leaves.
My go-to list of authentic ingredients and essential kitchen gear. Read the Guide
Dry your seafood thoroughly Moisture is the enemy of a good sear. Whether you are using fresh fish or thawed frozen seafood, pat everything completely dry with paper towels before dusting it in flour. If the seafood is wet, it will steam in the pan rather than developing a crust.
Do not overcook the seafood Seafood cooks incredibly fast and turns rubbery if left on the heat too long. You only want to sear the fish and seafood mix for about 3 minutes per side to build color, then remove it from the pot immediately. It goes back into the sauce at the very end just to warm through.
Blanch your greens for a better color If you want that intense, vibrant, restaurant-quality green color in your stew, quickly pass the fresh spinach and cilantro leaves through boiling water for just a few seconds before blending them.
Caramelize the base completely The red onion, scallions, garlic, and aji pastes need a full 10 minutes to cook down and caramelize in the pot. This step removes the sharp, raw bite of the onions and garlic.
Seco de Mariscos is a simple and quick stew that is full of flavors and textures!
Making sure that the ingredients are cooked properly is a crucial step to get this dish right
This is a great way to eat some seafood, the texture and flavors go great with the Seco stew.
What to Serve With Seco de Mariscos
Because the green sauce is so rich and creamy, you need a starchy side to soak it all up. Thick, tender pieces of boiled Yuca (cassava) are the absolute best pairing for this dish, though a simple mound of white rice works perfectly as well.
You can also serve this with a generous portion of Salsa Criolla on the side. The bright, acidic crunch of the lime-marinated red onions is necessary to cut through the heavy cream and balance the richness of the stew.
Storage
Store any leftover Seco de Mariscos in an airtight container in the refrigerator for up to 2 days. Because seafood spoils quickly, you should consume it as soon as possible.
When reheating, do it very gently in a saucepan over low heat. Do not microwave it on high or let it come to a hard boil on the stove, as the heavy cream can easily separate and the seafood will become tough and rubbery. Add a small splash of vegetable broth if the sauce has thickened too much in the fridge. I do not recommend freezing this dish.
Frequently Asked Questions
Can I skip the heavy cream? Yes, the heavy cream is completely optional. Traditional homestyle Seco often skips the cream, but adding it gives the dish that elevated, creamy, restaurant-quality texture and mellows out the flavors beautifully.
Why do I need to coat the seafood in flour? The flour serves two purposes: it creates a protective barrier that helps the delicate fish develop a nice crust during the sear without falling apart, and the residual flour left in the pot naturally thickens the green sauce as it simmers.
Is this dish very spicy? No, it has a very mild, pleasant warmth. The Aji Amarillo and Aji Mirasol pastes provide an earthy, fruity flavor with just a hint of a kick, which is neutralized heavily by the vegetable broth and the cream.
Can I use salmon or tuna for this? I do not recommend it. Oily, strong-flavored fish like salmon or tuna will completely overpower the delicate cilantro and spinach sauce. Stick to mild, flaky white fish.
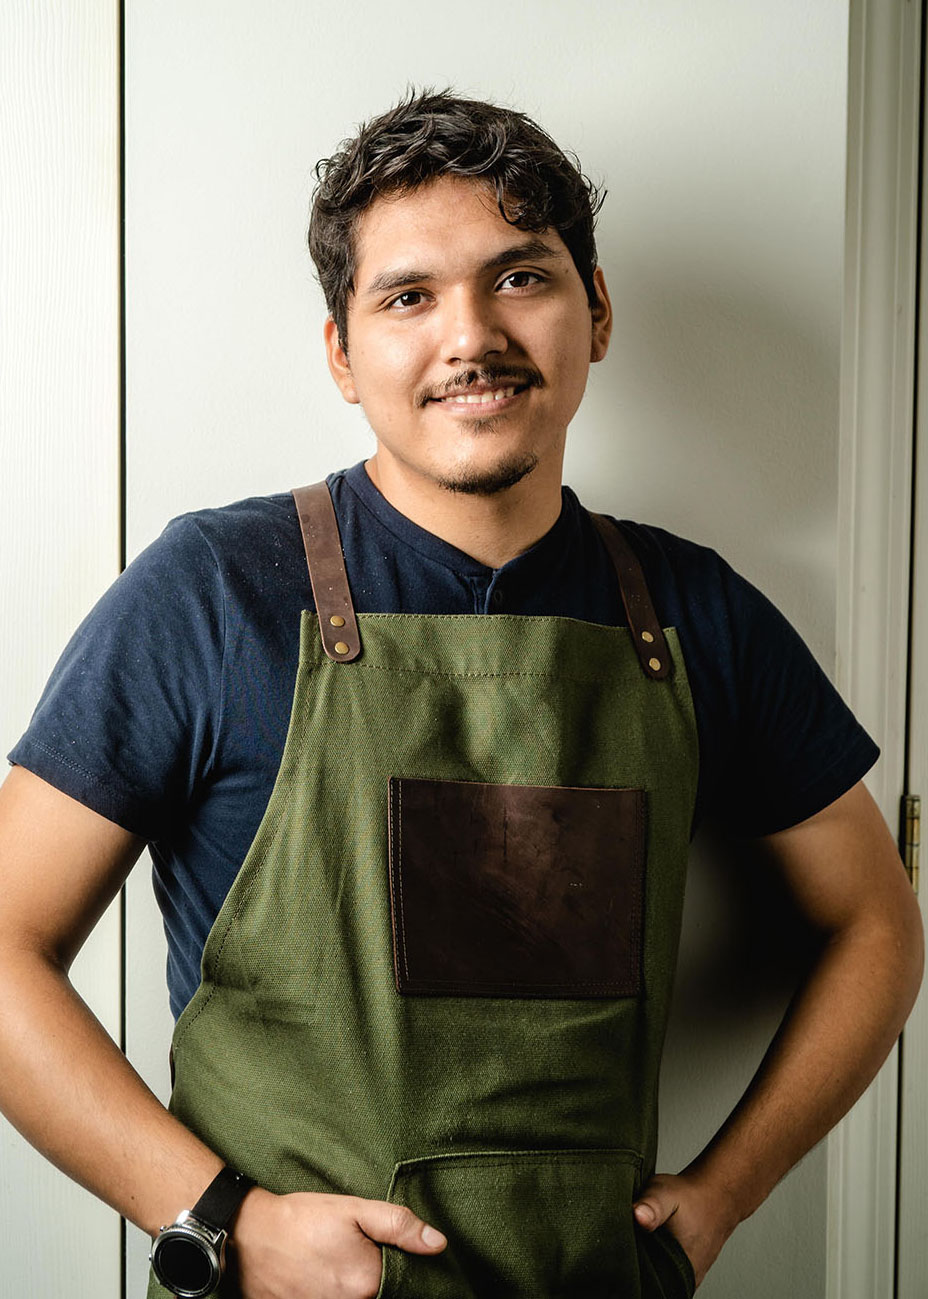
Brandon Castillo - Peruvian Chef & Recipe Developer
Brandon Castillo is a Peruvian chef and recipe developer based in New York. Born and raised in Peru, he shares authentic Peruvian recipes adapted for home cooks in the United States. You can find him on Instagram, TikTok, and YouTube @chewinghappiness.
Tried it? Let me know. If you made this recipe at home, let me know how it turned out in the comments below! Tag @Chewinghappiness on Instagram to show me your plated seafood stew. And if you liked this recipe, you might like my Seco de res recipe, the beef stew version of this dish.